Logging in to Tuntinetti and time reporting with a computer are explained in the following sections.
Login
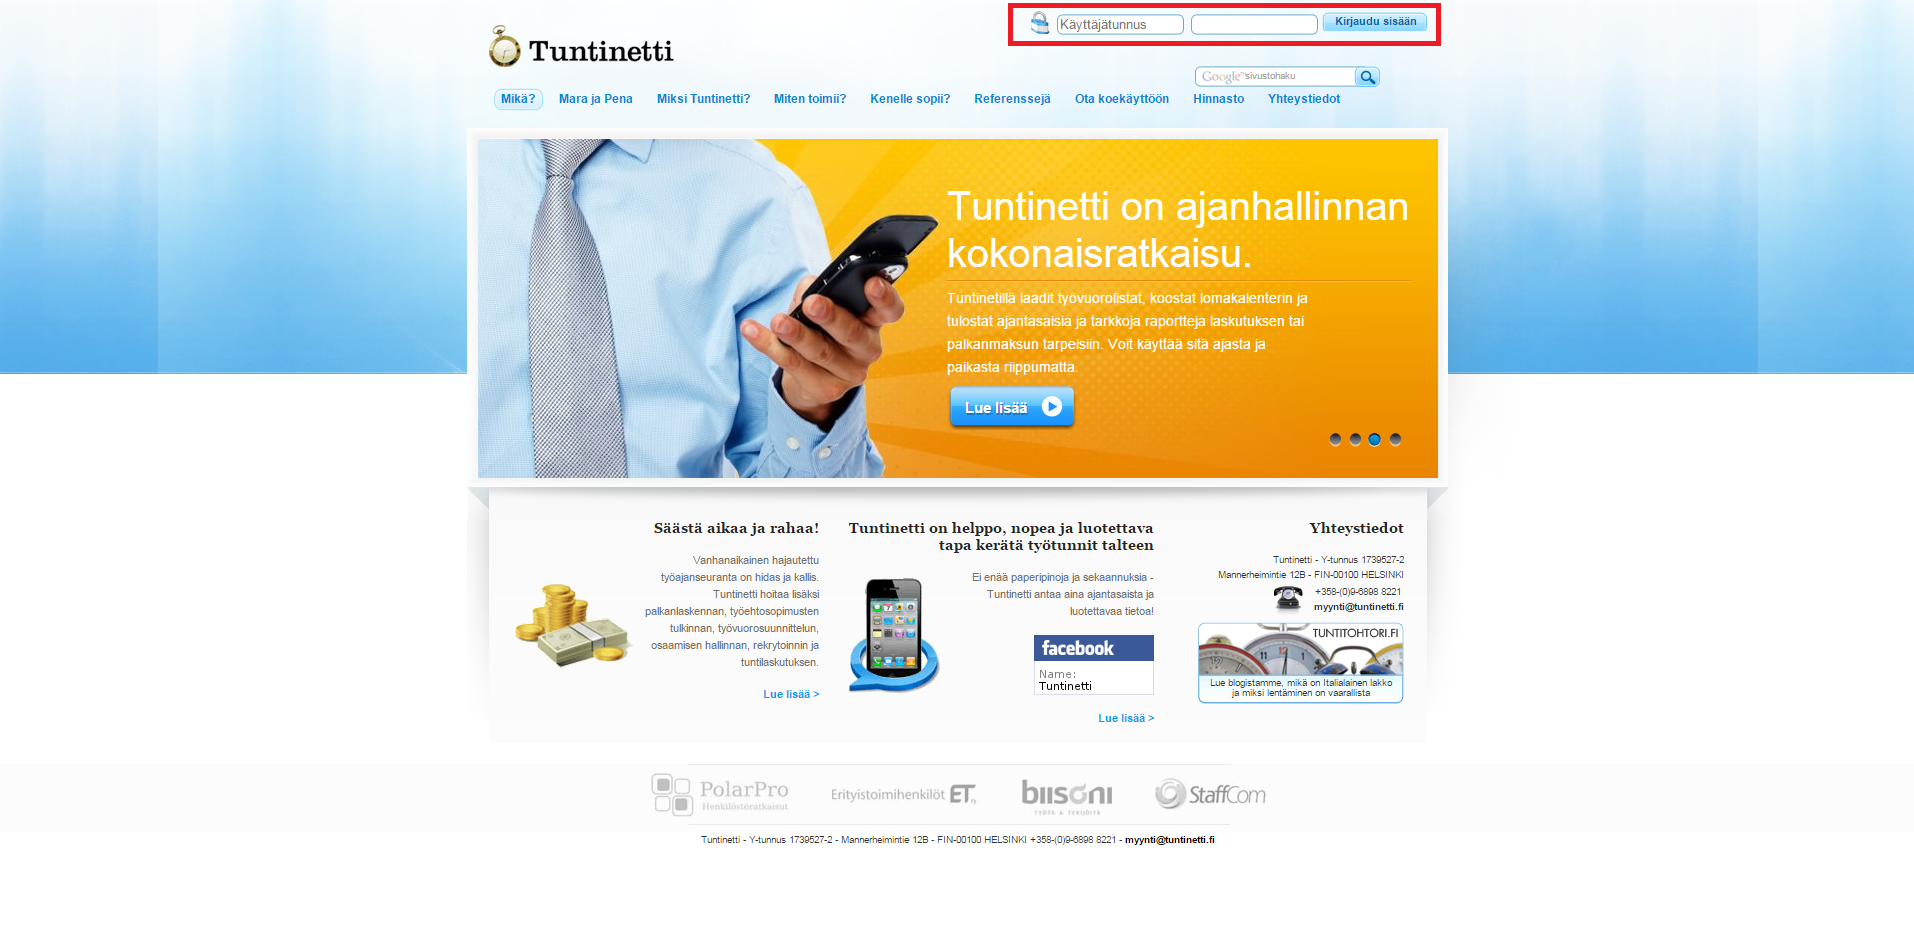
You can log in to Tuntinetti in the front page:
Or you can log in in the Tuntinetti's login page:
If you work for two different employees that use Tuntinetti for collecting working hours, you can use the same e-mail address as your login ID. Chance your password to be exact the same with both employees and then you will get a drop-down menu in login where you can choose to which employees Tuntinetti account you want to log in.
Forgetting password - What to do when you have forgotten your password?
The following explains what user should do when he or she has forgotten his or her password.
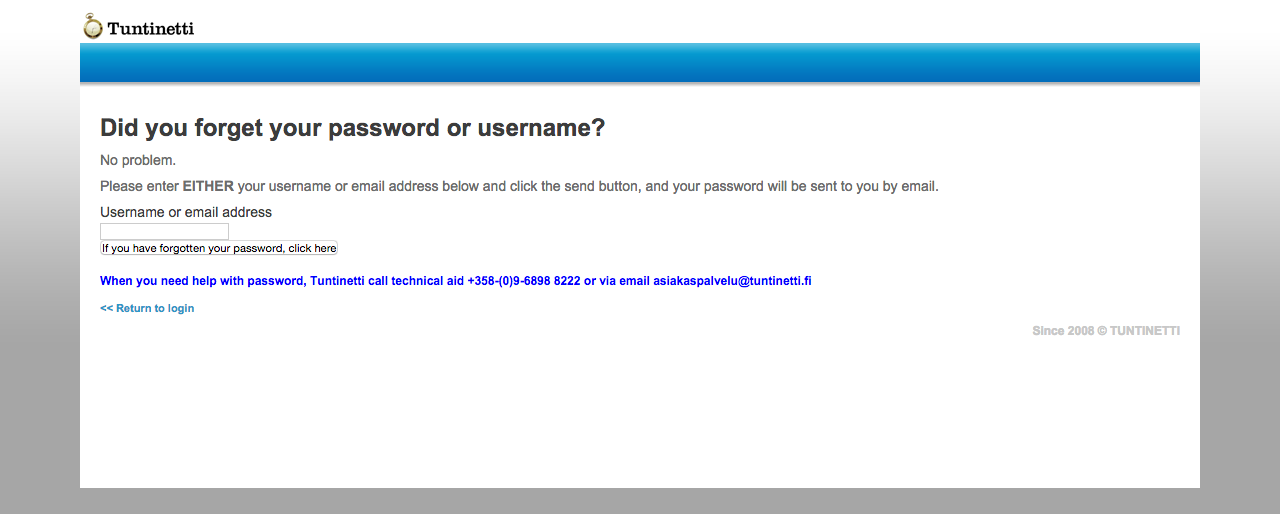
If you have forgotten your password to Tuntinetti you can request a new password to be sent to your email. A new password can be requested by clicking the "Click here to request a forgotten password by email" button in the login page, https://www.tuntinetti.fi/Login.

After clicking the button to request a new password you must enter either your username or your email address to the text field. You should enter only your username or your email address. Not both.
To send the the new password to the appropriate email address click "If you have forgotten your password, click here". Now you can log in to Tuntinetti with the new password.
The set password can be changed in your own settings in the Basic settings tab in Tuntinetti.
If username is used with multiple employers, then password is changed in all of them. This means that you must change your received temporary password in all of these. This can be achieved by login in with recieved temporary password once for every employer account. If you want to login to all employer accounts with same password then you must change the temporary password to your selected password once for every employer account.
Supervisor has a possibility to order new password for employee from “Create new password”-button on Users-tab. This button clears earlier passwords and creates a password that employer should change on first inlogging. For this on Basic settings-tab there should be chosen the setting “If needed, the supervisor can create a new user password and print it” from Other settings.

When you need help with password, Tuntinetti call technical aid +358-(0)9-6898 8222 or via email asiakaspalvelu@tuntinetti.fi
Show customer details to employees
On the company's basic settings, you can set the display of customer information for employees. The setting can be found on Tuntinetti`s basic information tab on Other settings ´Show customer details to employees in hour reporting and work shift confirmation messages´:

Time reporting
Different work time tracking views
There are three different work hour tracking views in Tuntinetti. A supervisor can select one that suit the employee the best.
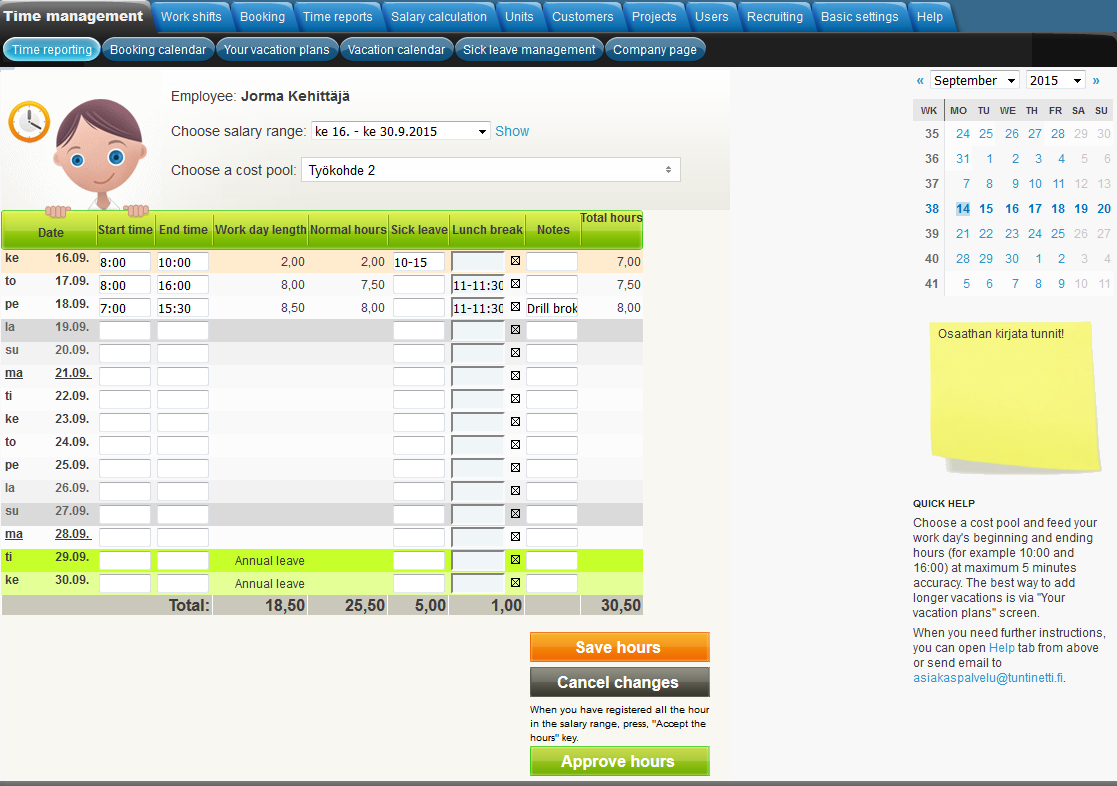
The simple view
Simple view is good for basic working hour tracking and is suitable for those who mainly work in one location.

The categorized view
Categorized view with a start clock is suitable for work that is client specific or mobile.
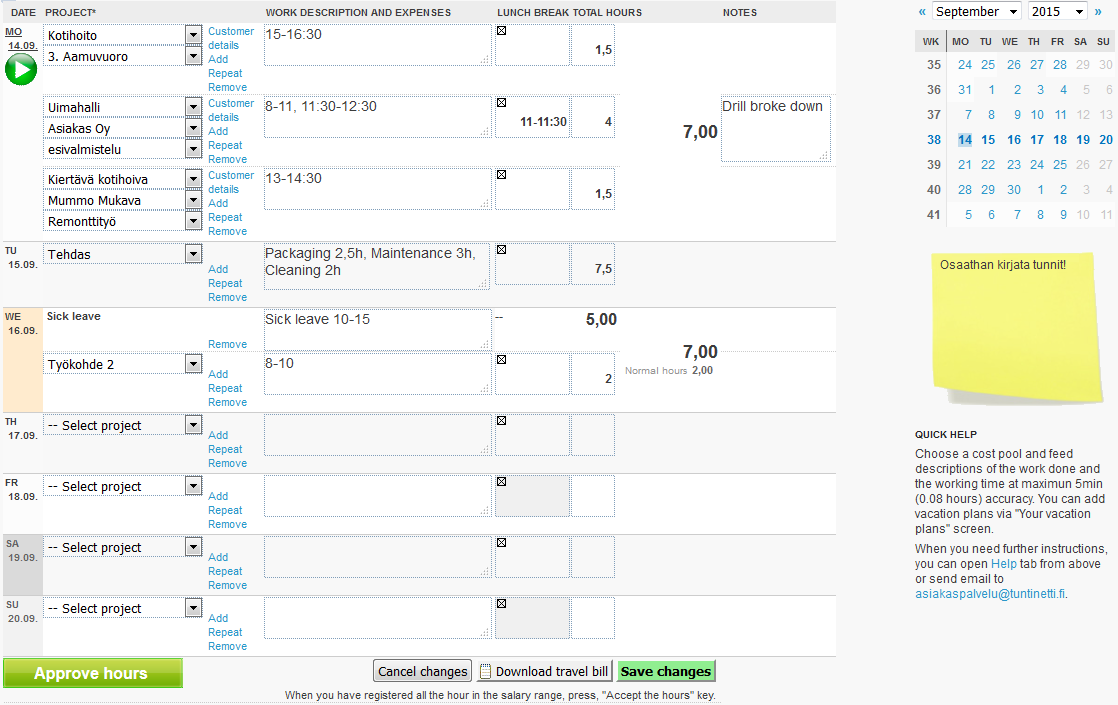
The combination view
A combination of both views mentioned above. It is suitable for client specific or mobile work.

Changing the work time tracking view
A supervisor can choose the employees' work time tracking views in the settings of the Employees page in the Users tab. An instruction about employees can be found here: Employee settings.
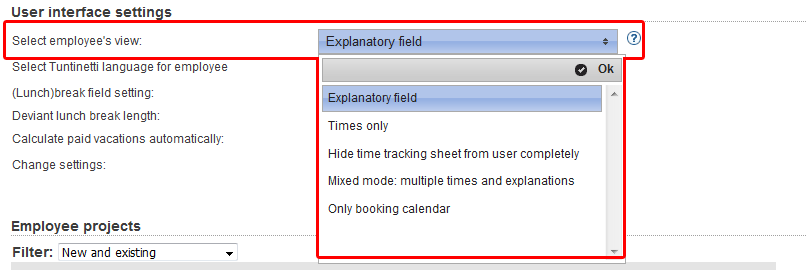
An administrator can easily try different work time tracking views in the "Quick-start quide"-window. By clicking the "Quick-start Guide"-button in the top part of the Time management tab, a new window opens up where you are able to select desired tracking view for yourself.
![]()
When selecting a time tracking view for your employees, you should consider how they enter their work hours and what needs they have considering time reporting. For example if an employee enters hours for multiple projects within the same days, the categorized or combined view can be more suitable than the simple view. FAQ has an example how you are able to enter work hours for the same job with different work hours within the same day.
Expenses in different employee's views
Lets take a look at how to report an expense in different employee's views.
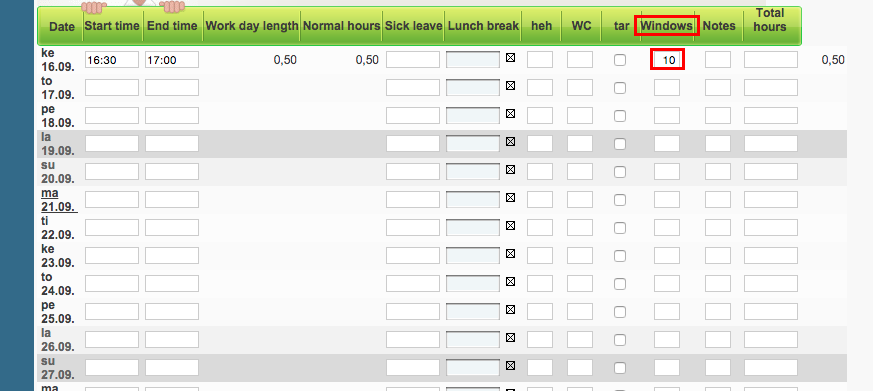
Times only
In times only view you are able to see the selected expenses in a table. Add the amount for the right expense and for the right day.
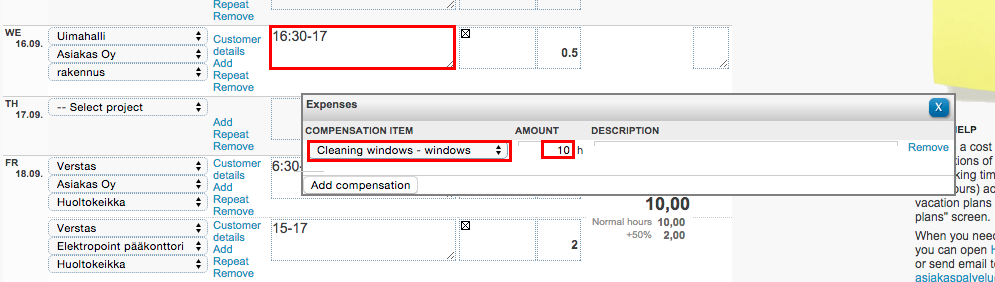
Explanatory field
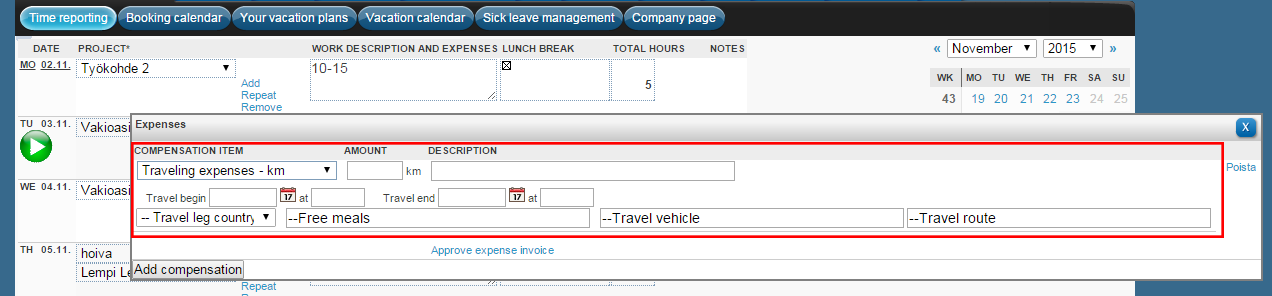
Click the work description and expenses -box for the right day. Select the right expense and amount from the opened window.
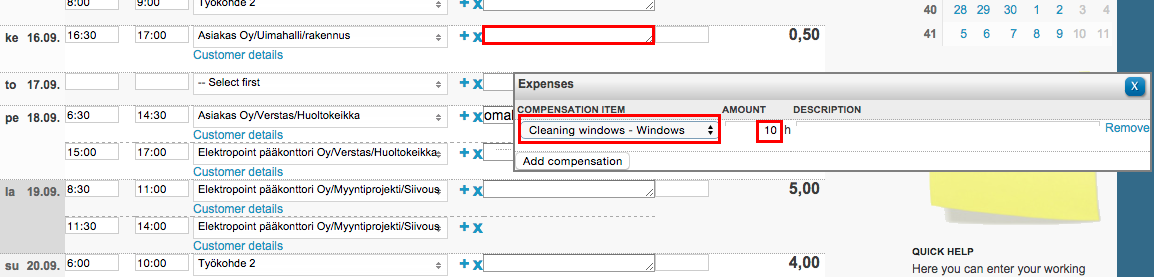
Mixed mode: multiple times and explanations
Click the notes -box for the right day. Select the right expense and amount form the opened window.
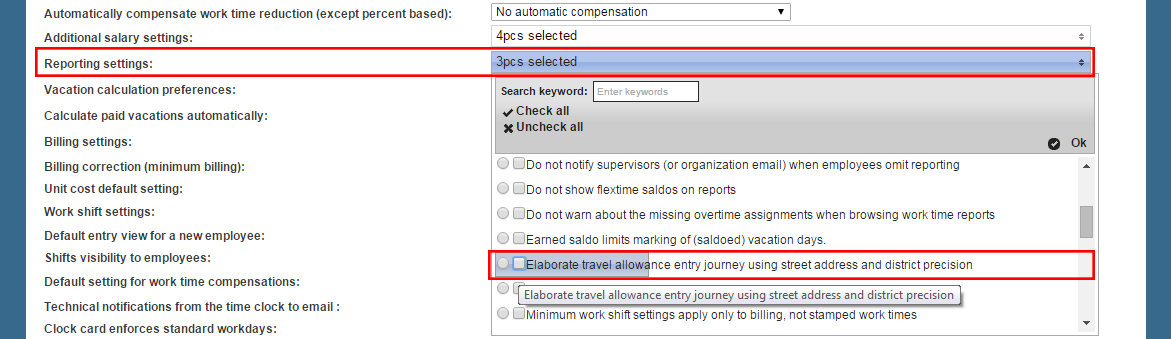
It is possible to select the reporting setting "Elaborate travel allowance entry journey using street address and district precision" in the company's basic settings.
If there are other expenses, they can be booked as their own organization costs. After saving the changes, the travel bill can be printed by clicking the "Download travel bill" button.

Travel bill can be printed from the top part of the page in the time report view.

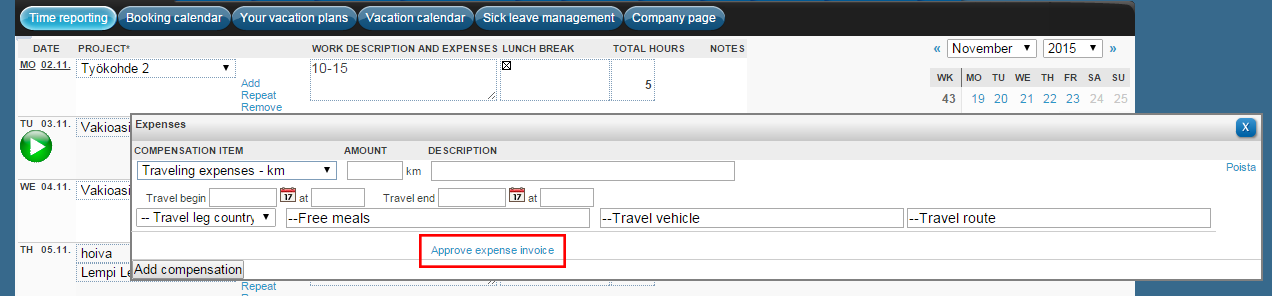
If an organization cost has approving feature activated, the approving function will be shown like this.
Retrieving work shift prints
This instruction shows the options that you are able to select and how you should proceed while retrieving work shift prints. There is a detailed instruction of Work shift prints here: Work shift prints.
You are able to retrieve work shift prints in the Work shifts tab's sub tab Work shift prints. Follow next steps to retrieve work shift prints:
- Selecting time range
- Reporting time with a computer's web browser#Filtering
- Reporting time with a computer's web browser#Choosing work shifts
- Reporting time with a computer's web browser#Grouping shift lists
- Downloading or printing shift lists
Selecting time range or period
Choose first, which date range or period you want to be listed. Remember to press "Show period" or "Show range" button to confirm the settings.
Filtering
You can filter selectable shifts also according to the validity and activity of the projects and employees.
Choosing work shifts
Choose the desired employees, projects and other choices that you want to be on the work shift print.
Grouping shift lists
It is possible to group shift lists according to desired information. This way the work shift print can be arranged to be more readable.
Downloading, printing and sending shift lists
You are able to download a shift list to your computer, print it or send it via email.